Comprehensive Guide: Setting Up a Private WireGuard VPN Server
Comprehensive Guide: Setting Up a Private WireGuard VPN Server
This guide will walk you through creating a private, anonymous VPN setup using WireGuard, from acquiring a VPS anonymously to configuring clients on Android and Linux.
Part 1: Anonymously Acquiring a VPS
Prerequisites
- Tor Browser
- Non-KYC Bitcoin (obtained through peer-to-peer exchanges, Bitcoin ATMs without ID requirements, or decentralized exchanges)
- A secure email address created over Tor (like ProtonMail)
Step-by-Step Process
-
Install and Launch Tor Browser
- Download from https://www.torproject.org/
- Verify the download signature for authenticity
- Launch and connect to the Tor network
-
Find a Bitcoin-Accepting VPS Provider
- Through Tor, search for VPS providers that accept Bitcoin payments
- Recommended providers:
Njalla, BitLaunch,1984 orRockHosterNjalla
- Look for providers that don't require personal information
-
Create an Account
- Use your anonymous email
- Avoid providing any personal information
- Use a randomly generated username unrelated to your identity
-
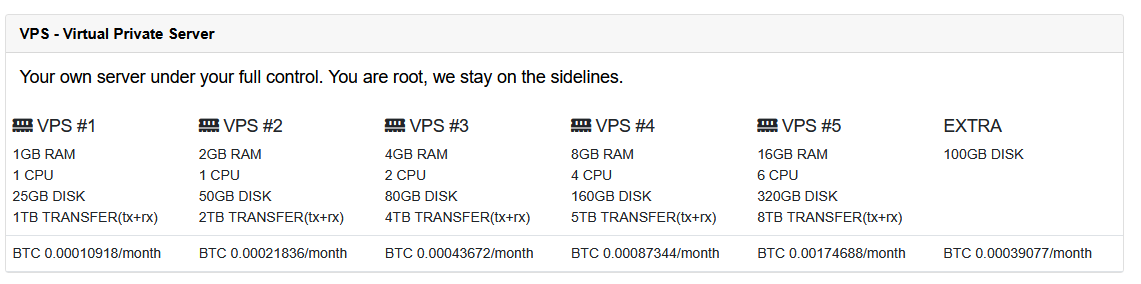
Select Your VPS Plan
- Choose a plan with sufficient resources (minimum 1GB RAM, 10GB storage)
- Select a server location strategically (consider privacy-friendly jurisdictions)
- Ensure the provider offers Ubuntu or Debian as OS options
-
Complete Payment
- Select Bitcoin as payment method
- Transfer funds from your non-KYC Bitcoin wallet
- Wait for confirmation (may take 30-60 minutes)
Part 2: Setting Up WireGuard Server
Initial Server Setup
-
Connect to Your VPS
ssh root@your_server_ip -
Update System and Install Required Packages
apt update && apt upgrade -y apt install -y wireguard wireguard-tools iptables-persistent -
Enable IP Forwarding
echo "net.ipv4.ip_forward = 1" >> /etc/sysctl.conf
sysctl -p
WireGuard Server Configuration
-
Generate Server Keys
cd /etc/wireguard wg genkey | tee server_private.key | wg pubkey > server_public.key chmod 600 server_private.key -
Create Server Configuration
nano /etc/wireguard/wg0.conf -
Add the Following Configuration
[Interface]
PrivateKey = $(cat server_private.key)
Address = 10.0.0.1/24
ListenPort = 51820
SaveConfig = true

# NAT routing
PostUp = iptables -A FORWARD -i wg0 -j ACCEPT; iptables -t nat -A POSTROUTING -o eth0 -j MASQUERADE
PostDown = iptables -D FORWARD -i wg0 -j ACCEPT; iptables -t nat -D POSTROUTING -o eth0 -j MASQUERADE
Note: Replace
eth0with your actual network interface if different (check withip a) -
Enable and Start WireGuard
systemctl enable wg-quick@wg0 systemctl start wg-quick@wg0 -
Verify WireGuard is Running
systemctl status wg-quick@wg0
Part 3: Creating Client Configurations
Generate Client Keys and Configurations
-
Generate Client Keys
cd /etc/wireguard wg genkey | tee client1_private.key | wg pubkey > client1_public.key chmod 600 client1_private.key -
Create Client Configuration File
nano /etc/wireguard/client1.conf -
Add Client Configuration
[Interface] PrivateKey = $(cat client1_private.key) Address = 10.0.0.2/32 DNS = 1.1.1.1, 1.0.0.1 [Peer] PublicKey = $(cat server_public.key) AllowedIPs = 0.0.0.0/0, ::/0 Endpoint = your_server_ip:51820 PersistentKeepalive = 25 -
Add Client to Server Configuration
wg set wg0 peer $(cat client1_public.key) allowed-ips 10.0.0.2/32 wg-quick save wg0 -
Generate QR Code for Android
apt install -y qrencode
qrencode -t ansiutf8 < /etc/wireguard/client1.conf
Part 4: Client Setup
Android Setup
-
Install WireGuard App
- Download from Google Play Store or F-Droid
- Launch the app
-
Import Configuration
- Tap the "+" button
- Select "Scan from QR code" and scan the QR code from your server
- Alternatively, select "Import from file" if you transferred the configuration file
-
Connect to VPN
- Tap the toggle switch next to your new tunnel to connect
- Verify connection by checking your IP address (visit ipleak.net)
Linux Desktop Setup
-
Install WireGuard
sudo apt update sudo apt install -y wireguard wireguard-tools resolvconf -
Transfer Configuration File
- Securely transfer the client1.conf file to your Linux machine
- Save it to /etc/wireguard/wg0.conf
-
Set Proper Permissions
sudo chmod 600 /etc/wireguard/wg0.conf -
Connect to VPN
sudo wg-quick up wg0 -
Enable Auto-Connect on Boot (Optional)
sudo systemctl enable wg-quick@wg0 -
Disconnect from VPN
sudo wg-quick down wg0
Part 5: Security Enhancements
Server Hardening
-
Set Up a Firewall
ufw allow 51820/udp ufwallow OpenSSH ufwenable -
Disable Password Authentication for SSH
nano /etc/ssh/sshd_config- Set
PasswordAuthentication no - Set
PubkeyAuthentication yes - Restart SSH:
systemctl restart sshd
- Set
Change Default SSH Port (Optional)nano /etc/ssh/sshd_configChangePort 22to a random port numberUpdate UFW:ufw allow your_new_port/tcpRestart SSH:systemctl restart sshd
Privacy Enhancements
-
Set Up DNS over TLS
- Edit client configurations to use privacy-respecting DNS servers
- Consider using DNS servers like 1.1.1.1 (Cloudflare)
or, 9.9.9.9 (Quad9) or your own DNS server (do you want this guide too? comment on the group!)
-
Enable Kill Switch on Clients
- Android: Enable "Block connections without VPN" in app settings
- Linux: Add
Table = offto the client configuration file
Part 6: Maintenance and Troubleshooting
Regular Maintenance
-
Keep Server Updated
apt update && apt upgrade -y -
Monitor Server Logs
journalctl -u wg-quick@wg0 -
Check WireGuard Status
wg show
Troubleshooting
-
Connection Issues
- Verify server is running:
systemctl status wg-quick@wg0 - Check firewall settings:
ufw status - Verify port is open:
nc -vz $your_server_ip 51820
- Verify server is running:
-
DNS Issues
- Test DNS resolution:
dig @1.1.1.1 example.com - Check client DNS settings
- Test DNS resolution:
-
Performance Issues
- Test connection speed
- Consider changing server location or provider
Security and Privacy Notes
- Always access your VPS through Tor when performing maintenance
- Regularly rotate server and client keys for enhanced security
- Consider using a multi-hop setup for additional anonymity
- Avoid using the VPN for activities that could link back to your identity
- Regularly check for IP/DNS leaks using services like ipleak.net
Remember that while this setup provides a good level of privacy, no system is 100% anonymous. Always practice good operational security in addition to technical measures.